
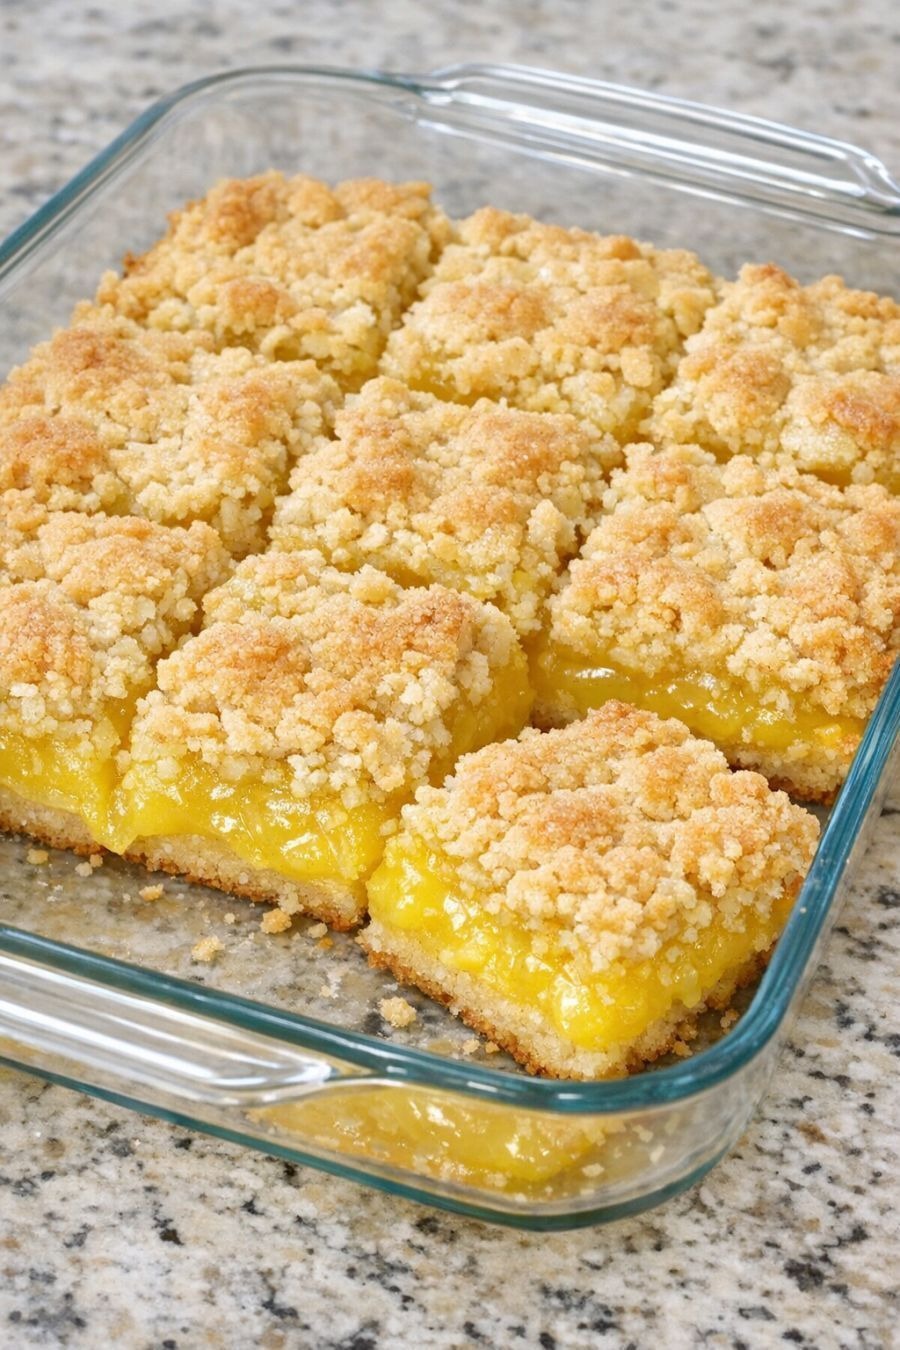
Tip: Pressing firmly helps the crust hold together after baking.
Step 4: Add the Filling
Spread the can of lemon pie filling evenly over the crust. Use an offset spatula or the back of a spoon to smooth the surface.
Edge to Edge: Spread the filling all the way to the edges for uniform bars.
Step 5: Add the Crumb Topping
Sprinkle the remaining one-third of the crumb mixture evenly over the top of the pie filling. Do not press down—leave it loose for a crumbly texture.
Distribution: Aim for even coverage so every slice has topping.
Step 6: Bake to Perfection
Place the dish in the preheated oven. Bake for 25–30 minutes, until the top is lightly golden and the edges are bubbling.
Doneness Check: The filling should be set and not jiggle excessively in the center. The crumbs will firm up as they cool.
Step 7: Cool & Chill
Remove from the oven and let the bars cool completely on a wire rack. Then, refrigerate for 1–2 hours before cutting.
Why Chill? Chilling firms the filling and crust, ensuring clean, neat slices that hold their shape.
Step 8: Slice & Serve
Use a sharp knife to cut into squares. Wipe the knife between cuts for clean edges.
Optional Finish: Dust with powdered sugar or top with whipped cream before serving.
Chef's Tips & Tricks
Butter Temperature: Melt the butter completely but let it cool slightly before mixing to avoid clumping the cake mix.
Press Firmly: A well-compacted crust prevents crumbling when slicing. Use a flat-bottomed glass to press evenly.
Don't Skip the Chill: Cutting warm bars will result in messy, gooey squares. Patience yields picture-perfect results.
Flavor Boost: Add 1 teaspoon of lemon zest to the crumb mixture for extra citrus aroma.
Pan Size Matters: Use a true 9×13-inch pan. Smaller pans will result in thicker bars that may need longer baking; larger pans will make them too thin.
