
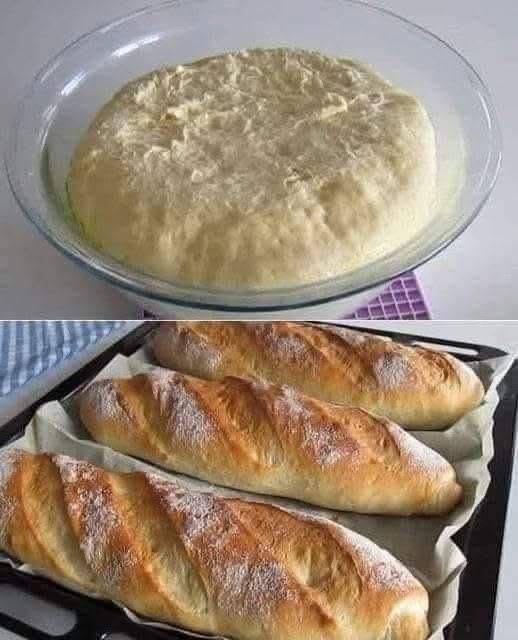
The temperature of the water you use to proof the yeast is genuinely the most critical variable in this recipe. Water that is too cold will not activate the yeast effectively, resulting in a dough that rises very slowly or not at all. Water that is too hot — generally anything above 120 degrees Fahrenheit — will kill the yeast entirely, producing a dense, heavy loaf with no rise. If you do not have a thermometer, a reliable test is to run the water over the inside of your wrist: it should feel warm and comfortable, similar to warm bathwater, not hot.
Bread flour will produce a slightly chewier, more structured loaf than all-purpose flour because of its higher protein content, which creates more gluten during kneading. Both work well in this recipe and both produce delicious bread — the difference is subtle enough that complete beginners should not worry about it and should use whichever flour they already have available. If you want to incorporate some whole wheat flour for added flavor and nutrition, you can replace up to one third of the white flour with whole wheat flour without significantly changing the texture or technique.
The dough is more forgiving than most first-time bread bakers expect. If it seems a little too sticky after the initial kneading, add flour one tablespoon at a time and work it in before adding more — a small amount of stickiness is normal and even desirable, as drier doughs tend to produce denser bread. If the dough seems too stiff, wet your hands slightly rather than adding water directly to the dough, which can make it difficult to incorporate evenly. If your loaves do not rise as much as expected during the second rise, give them a little more time rather than baking them prematurely — under-risen bread tends to be dense and heavy, while over-proofed bread has a slightly sour flavor that many people actually enjoy.
Storing and Enjoying Your Homemade Bread
Once the loaves are fully cooled, store them in airtight containers or zip-lock bags at room temperature for up to two to three days, or in the refrigerator for up to five days. Homemade bread does not contain the preservatives that extend the shelf life of commercial bread, so it stales more quickly — though the texture and flavor during those first two days are so far superior to anything from a store that the trade-off is more than worthwhile. For longer storage, homemade bread freezes exceptionally well: wrap each cooled loaf tightly in plastic wrap and then in aluminum foil, label it with the date, and freeze for up to three months. Thaw at room temperature overnight and warm briefly in a low oven to restore the fresh-baked quality.
This bread is magnificent in every way a bread should be: toasted with butter and jam at breakfast, as the foundation of a proper sandwich at lunch, served warm alongside soup or stew at dinner, or simply torn into pieces and eaten on its own while still slightly warm from the oven, which is honestly one of the best things a person can eat. Once you have made this bread, the prospect of buying a supermarket loaf will feel genuinely unnecessary. That is not an exaggeration — it is simply the effect that good homemade bread has on everyone who makes it for the first time.
