
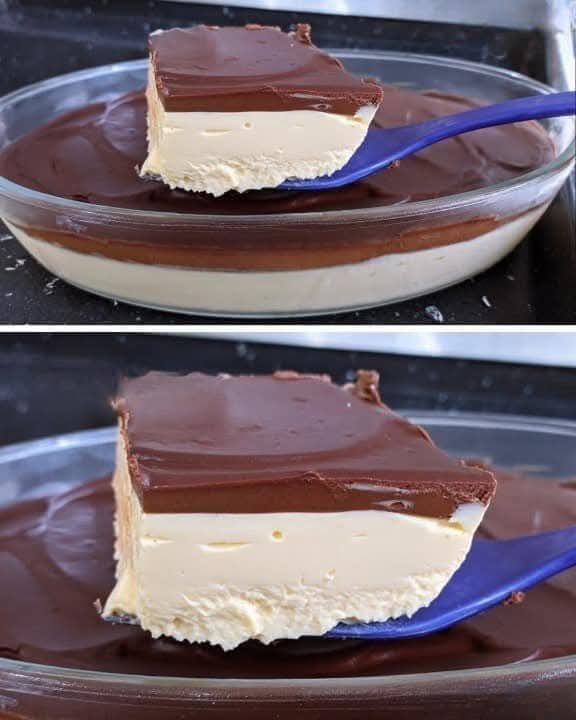
Once the pudding layer has set firmly, remove the dish from the refrigerator. Dollop the remaining eight ounces of thawed whipped topping evenly over the surface of the set pudding layer, then spread it gently and evenly using an offset spatula until the entire surface is covered in a smooth, uniform layer of whipped topping. If you are using chocolate shavings as a garnish — which are genuinely beautiful and add an elegant finishing touch — create them now by running a vegetable peeler along the flat side of a semi-sweet chocolate bar. A chocolate bar that is at room temperature will produce longer, more dramatic curls, while a cold bar will produce shorter, more rustic shavings. Scatter them generously over the entire surface of the whipped topping. Alternatively, a light dusting of cocoa powder or a scattering of chocolate sprinkles work equally well and take only seconds. Cover the dish tightly with plastic wrap and refrigerate for at least four hours, or ideally overnight, before serving. The extended chilling time allows all the layers to set firmly and meld together just slightly at their borders, which is precisely what gives this dessert its characteristic silky, unified texture when you bite into a square.
Tips for Perfect Results Every Time
The single most important tip for this recipe is to ensure that your cream cheese is truly, completely at room temperature before you begin making the cream cheese layer. Cold cream cheese refuses to blend smoothly no matter how long you beat it, and a lumpy cream cheese layer — while it will still taste good — will not have the silky, professional appearance that makes this dessert so impressive. Take the cream cheese out at the same time you take the whipped topping out to thaw, at least one hour before you plan to make the layers.
When it comes to the pudding, it is critically important to use instant pudding mix rather than cook-and-serve pudding mix. Cook-and-serve pudding requires heat to set, and it will not set properly when used cold in this recipe. Also, use less milk than the pudding box directions call for — three cups rather than the six cups typically specified — which produces a thicker, more stable pudding layer that holds its shape beautifully when the dessert is sliced and served.
For the cleanest, most beautiful slices — the kind where you can see every distinct layer clearly — place the finished dessert in the freezer for 30 to 45 minutes before cutting. This firms everything up temporarily and makes slicing much easier and neater. Use a sharp knife, and run it under warm water before each cut, wiping it clean between slices. The result will be neat, impressive portions where every layer is clearly visible.
