
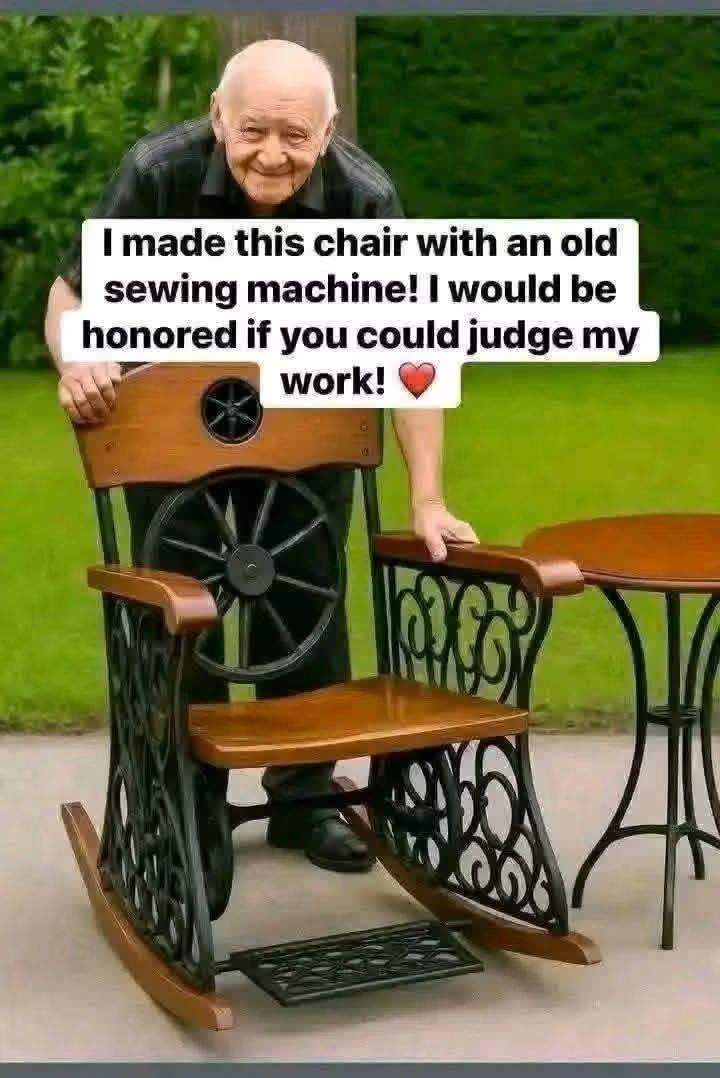
Place the wooden seat on top of the sewing machine frame.
Mark the places where the screws will go.
Drill small holes in the wood, then securely attach the seat to the metal base using strong screws and brackets.
Make sure the seat is completely stable before sitting on it.
Step 5: Add Armrests
For extra comfort, you can add wooden armrests on both sides.
Cut two pieces of wood to the desired size and shape.
Sand them well and attach them firmly to the metal structure using screws or metal brackets.
The armrests can be slightly curved or rounded for a more comfortable and elegant look.
Step 6: Finish the Wood
Sand the entire wooden surface again using fine sandpaper.
Apply wood stain to create a rich natural color.
Once the stain is dry, apply varnish or a protective wood finish.
Allow everything to dry completely before using the chair.
Step 7: Test the Chair
Before using it, check:
✔️ The screws are tight
✔️ The wooden seat does not move
✔️ The metal base is stable
✔️ There are no sharp edges
✔️ The chair can safely support weight
Final Result
You now have a beautiful and unique chair made from an old sewing machine base. This DIY project gives new life to vintage furniture and creates a charming piece that can be used in a garden, patio, living room, or entrance area.
Tip: If you have two old sewing machine bases, you can use one to create a chair and the other to create a matching table, giving your space a beautiful vintage handmade look.
