
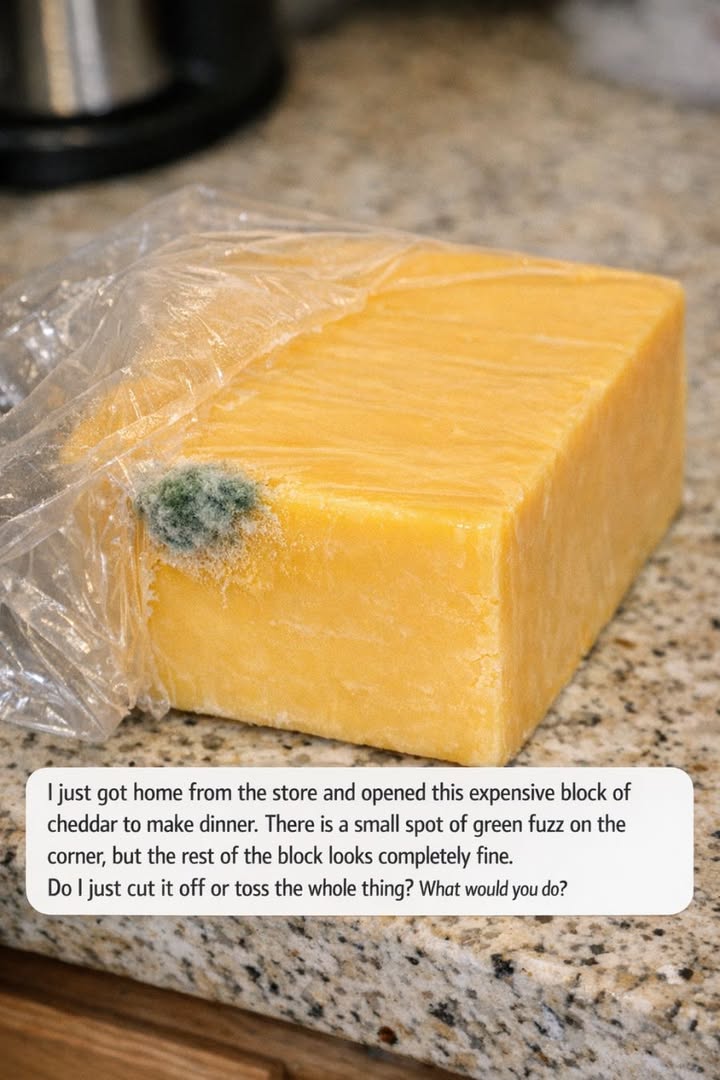
How to Cut Away Mold on Hard or Semi-Hard Cheese Safely
Food safety experts and USDA guidelines are consistent on the method: cut at least one inch around and below the mold spot in every direction. Not a quarter inch. Not just the visible fuzz itself. A full inch in all directions, including underneath, to account for any invisible mycelium that may have begun growing beneath the surface. This one-inch buffer is the safety margin that makes the salvage operation legitimate rather than wishful thinking.
There is one additional rule that matters: keep the knife away from the mold itself while you are cutting. If the knife blade contacts the moldy area and then continues through the cheese, it can spread mold spores to the cut surface of the cheese you intend to keep. The safest approach is to position your cut well outside the visible mold, make the cut in a single motion without pulling the knife back through the mold area, and then discard the mold-containing piece without letting it contact the remainder of the block. Wash the knife before using it on the salvaged cheese.
After cutting, wrap the remaining cheese in fresh wrap — cheese paper or wax paper is ideal because it allows the cheese to breathe while protecting it from excess moisture. A plastic bag can trap moisture against the cut surface, which encourages new mold growth. Store it in the refrigerator's crisper drawer, which offers more stable temperature and humidity than the main shelf.
